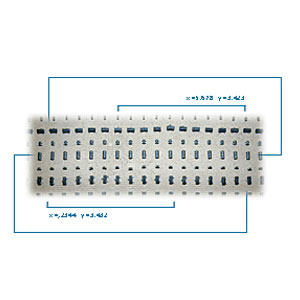
Component placement verification in electronic assemblies presents metrology challenges that are almost as wide and varied as the range of electronic designs and the types of components used. Key process control parameters that must be measured include component positioning and rotation (X, Y, and theta) relative to pads, as well as checking for missing and/or damaged components.
These basic requirements are further complicated by the very wide variety of component sizes, shapes, colors, etc., which necessitates highly versatile lighting options, robust image processing capabilities, and a high degree of system programmability and flexibility. In some implementations, metrology systems may also require the adaptability to be integrated directly with pick-and-place equipment as a unified processing and inspection cell.


