Benchmark 450
High-value, high-accuracy dimensional metrology system.
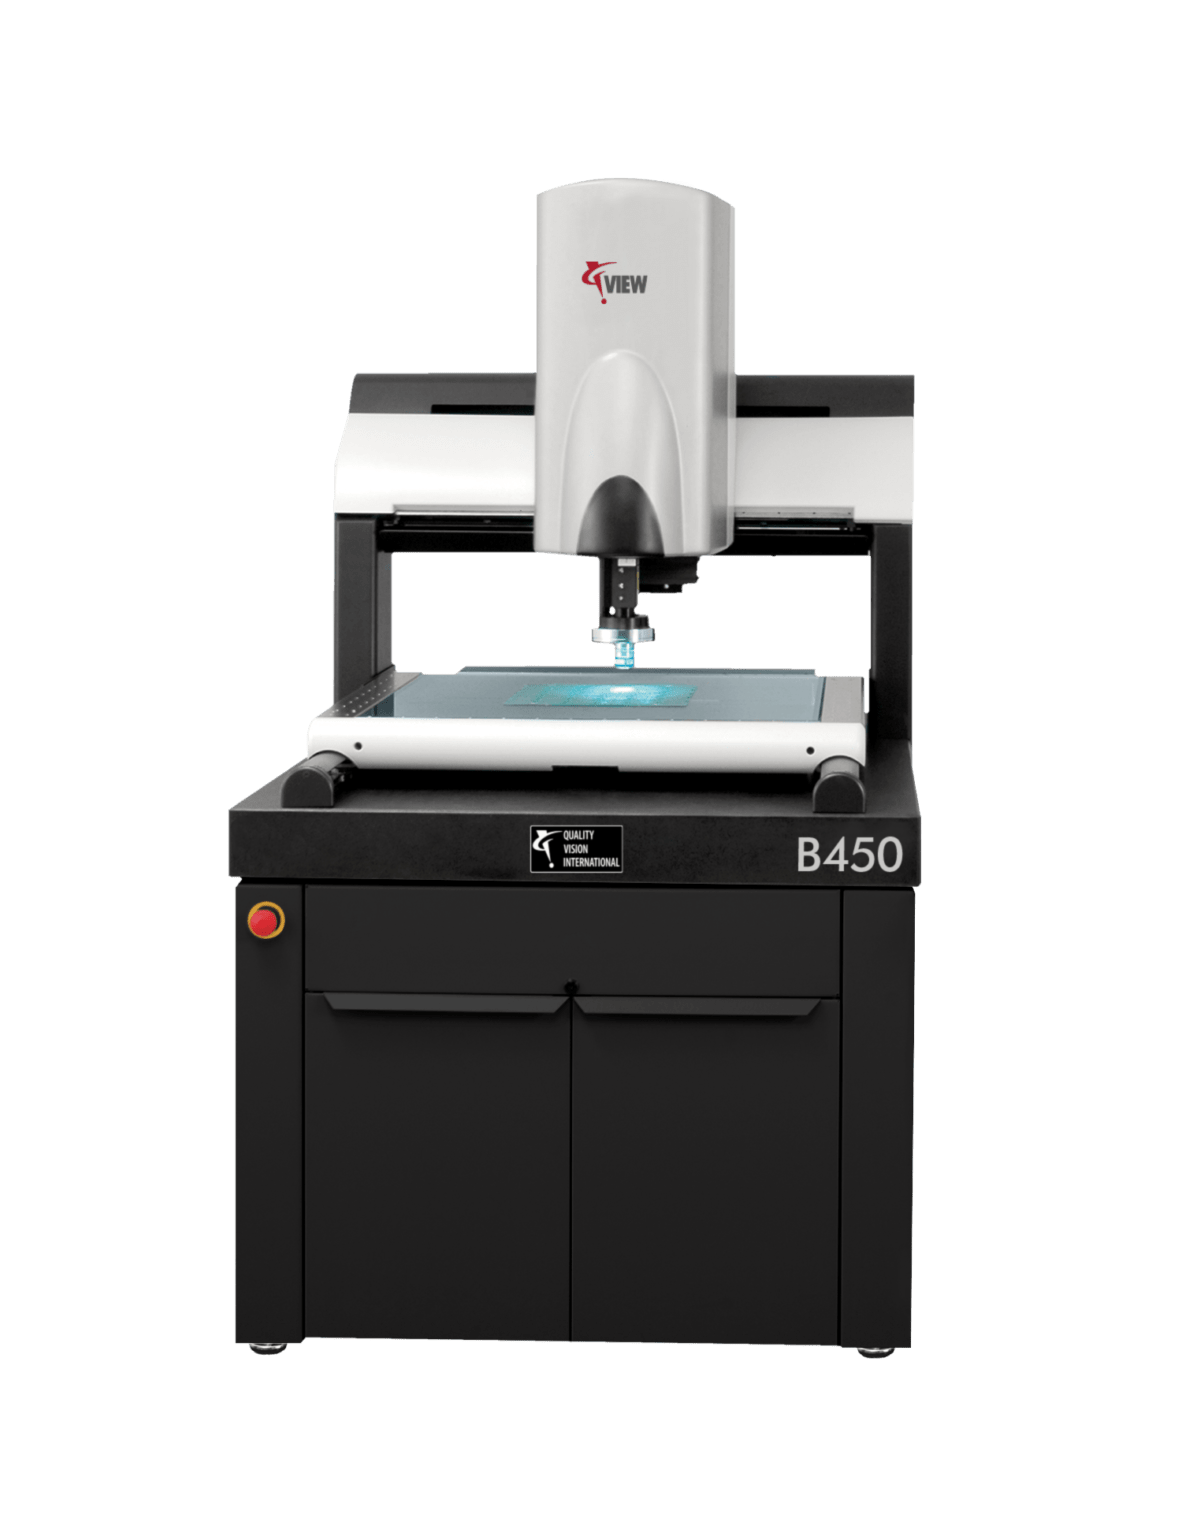
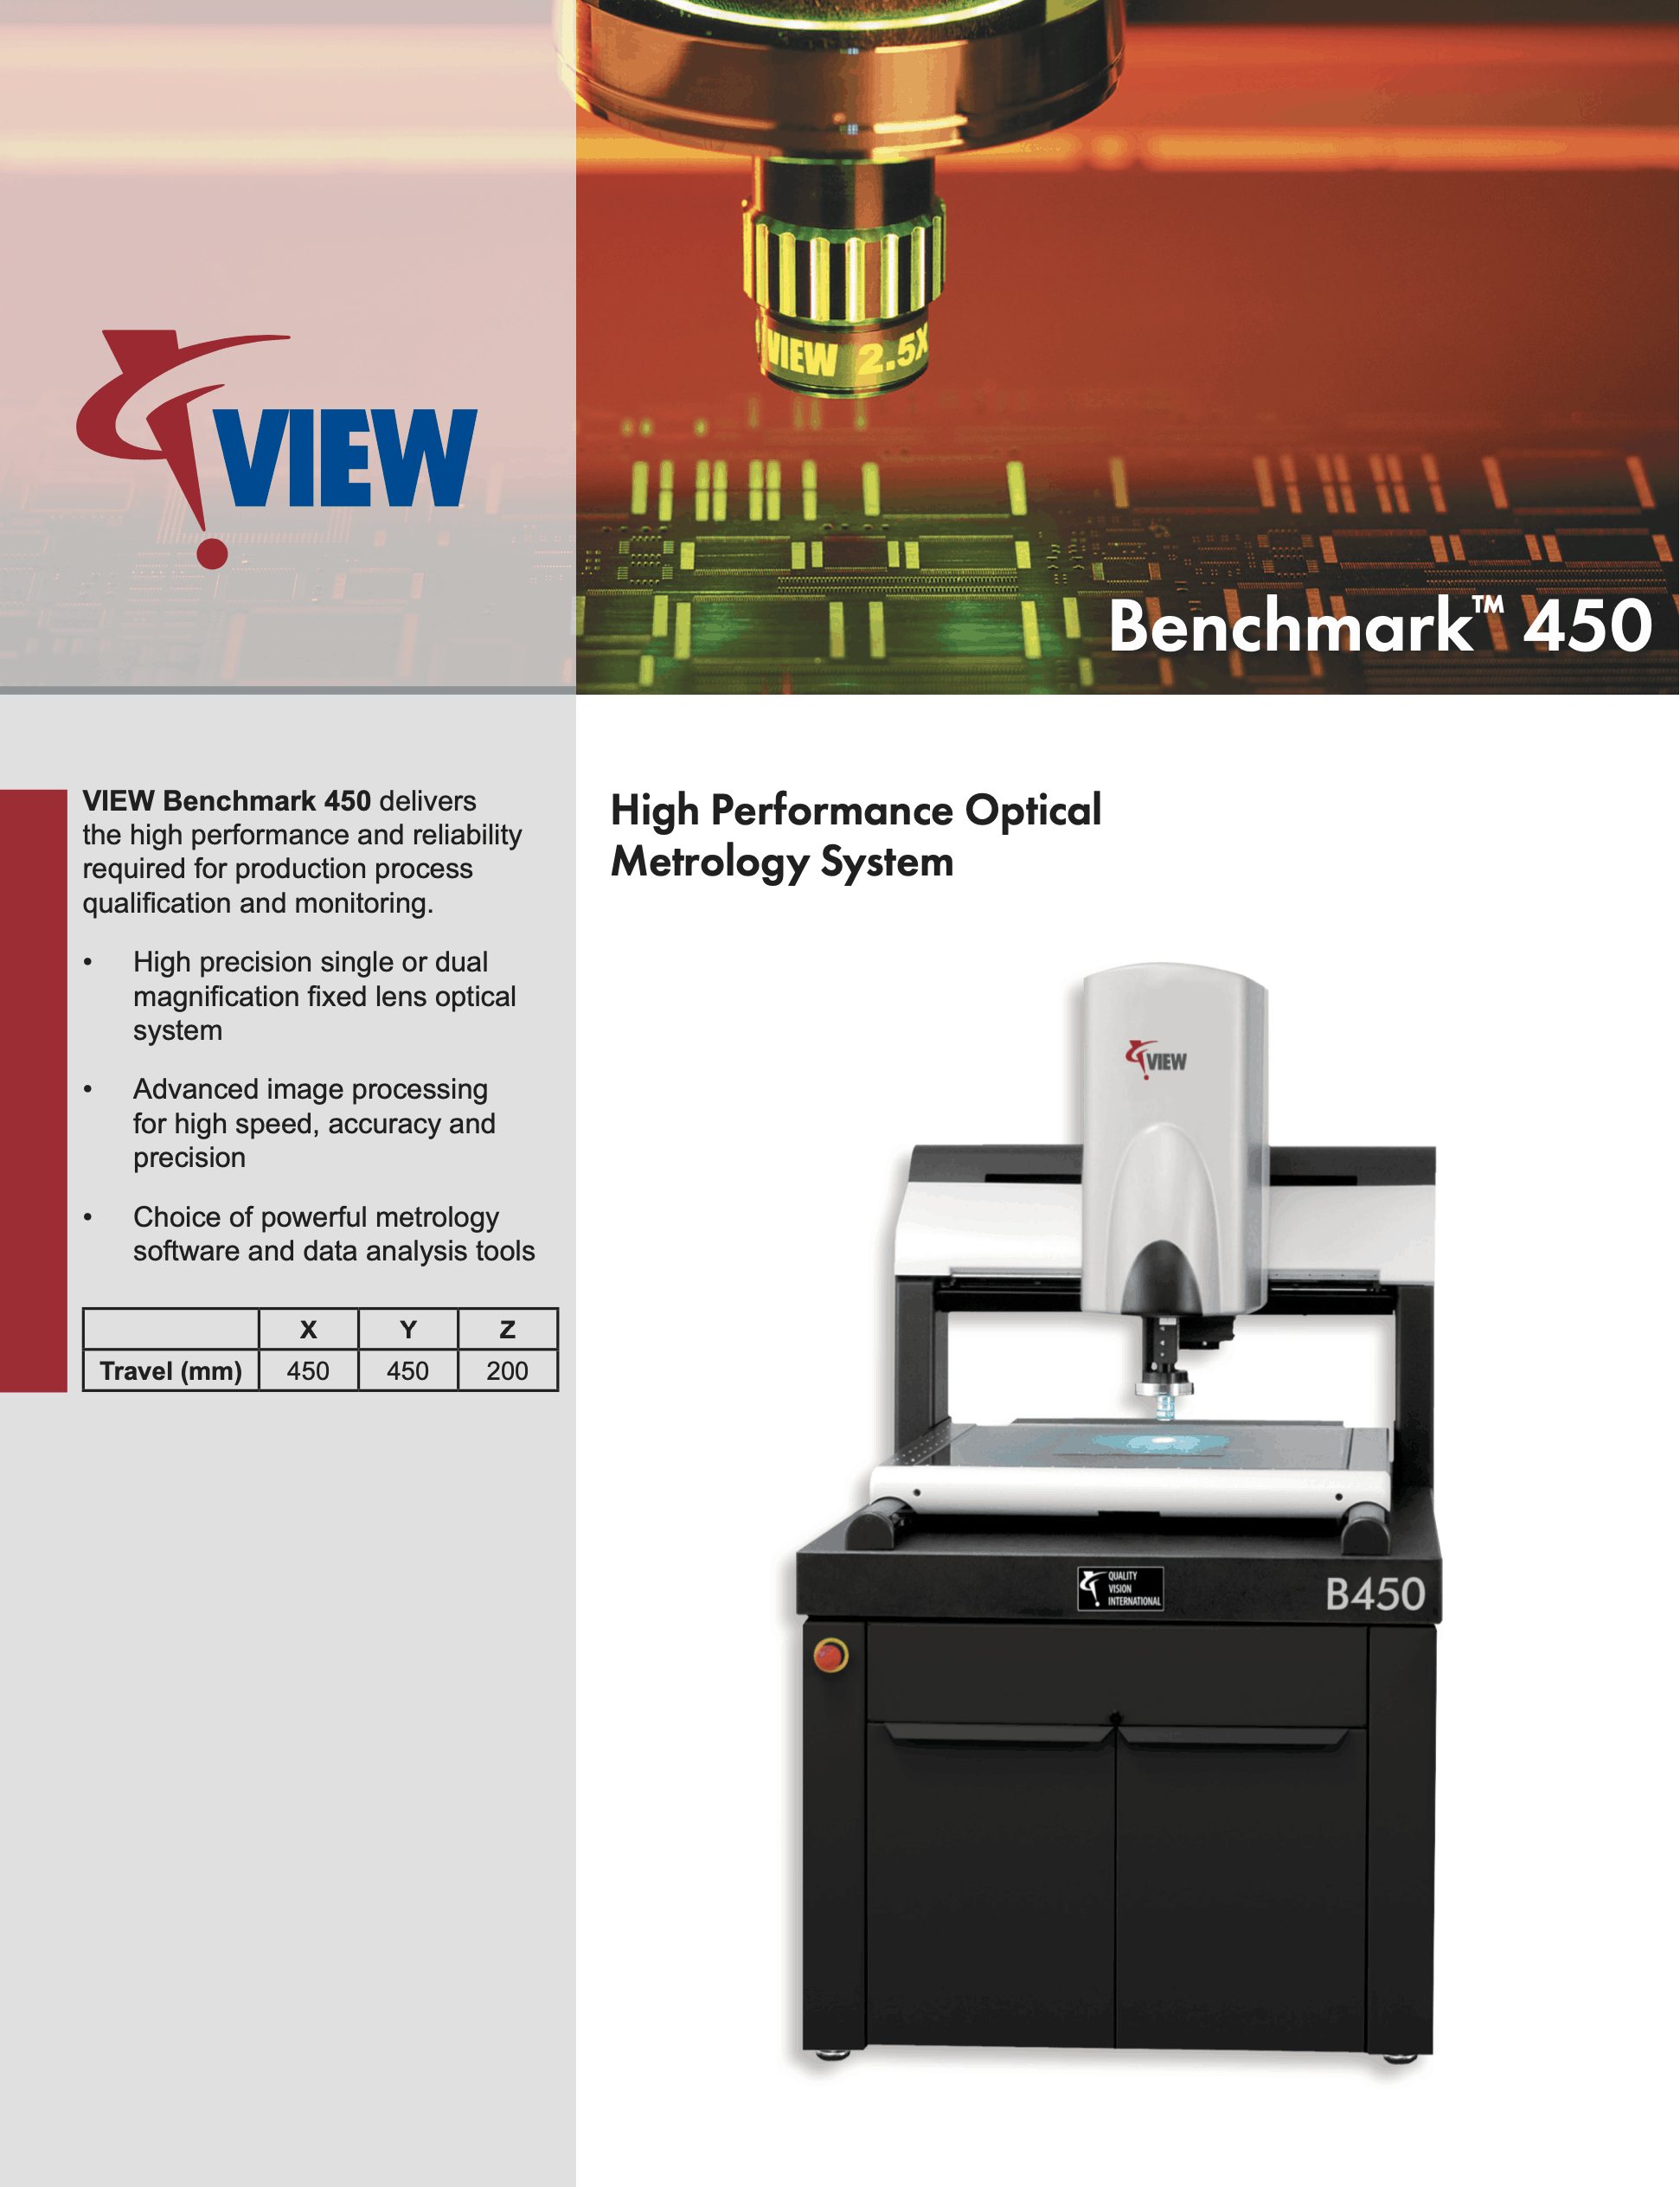
The VIEW Benchmark™ 450 delivers VIEW performance with generous measuring envelopes. Benchmark 450 embodies the ideal configuration of SMT assembly metrology when configured with VIEW’s unique Elements software.
The Benchmark 450 handles large form-factor parts with high precision in a rugged, shop-floor configuration with a small footprint. Its fixed bridge design separates the X and Y axis motions, allowing each to operate without any influence on the other. This arrangement provides the maximum mechanical integrity and accuracy in the stage motion.
Standard
Optional
XYZ Travel
450 x 450 x 200 mm
450 x 600 x 200 mm
Load Capacity
65 kg
Imaging Optics
Single magnification, fixed lens optics with VIEW 1X back tube and VIEW 2.5X objective lens
Dual magnification fixed lens optics with VIEW 2.5X objective lens. Optional Objective Lenses: 0.8X, 1 X, 5.0X, 10X, and 25X
Metrology Camera
Standard: 2.0 megapixel (1628 x 1236), digital, monochrome
Color and other camera configurations are optionally available
Illumination
Standard: Programmable LED illumination system for coaxial through-the-lens surface light, below-the-stage backlight, and multicolor ring light with motorized incidence angle control
Grid Autofocus System
Sensor Options
Through-the-lens (TTL) laser
Rainbow Probe ™ off-axis white light range sensor
Measurement Modes
High Speed Move and Measure (MAM)
Continuous Image Capture (CIC)
FEATURES
Dual magnification optics and an optional through-the-lens (TTL) laser sensor make the Benchmark an ideal system for many applications including molded plastic parts, screen printer stencils, printed circuit boards, solder paste, epoxy glue dots, precision machined parts, and many others.
The Benchmark 450 operates with any of VIEW’s standard metrology software packages:

